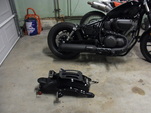
Ok, I took the "Plunge" and ripped apart my Meter...and YES, it is epoxied all the way around that real thin seam you can see on the side of the meter...
Anyway...the Black Plexiglass with slightly lighter in color than the rectangular plexiglass section for the LCD Area is one thing but the LCD Chip Glass itself is "slightly" tinted also...
I took some pictures of each piece but more importantly, I plugged the PCB back onto the bike's coupler and took pictures with and without the plexiglass cover...
There is definitely a difference in the brilliance of the LCD...not a drastic one but enough to make a considerable difference when riding and viewing this thing...
Then, I strapped the PCB with back cover onto the bike and took her out for a spin...in ALL four headings N, S, E, W and it works ALL the time with ABSOLUTELY no viewing problems...it is just like my GEN2 VMax and the LCD Segments are BRIGHT and BOLD as they should be...
So, that's the cause, the Smokey Plexiglass over the LCD Display area...
The Fix????...ummmmmm...well, to cut out the rectangular plexiglass over the LCD and replace it with a clearer plexiglass...that's easier said than done but in my case...it can't be any worse than what I have now..."all torn apart"...lol
I thought it over for a night and the next morning...did the "Lobotomy"…
Do 'ya think that my warranty for the meter is "HISTORY"???…I could care less…the worse case was, having to buy a $315 OEM Meter…lol…can't wait on Yamaha's Wizards to step up to the plate…they are the same for ALL of the models…no exceptions...

OEM Meter before Mod
|
OEM Meter after Mod
|

Inside view of top plexiglass cover
|
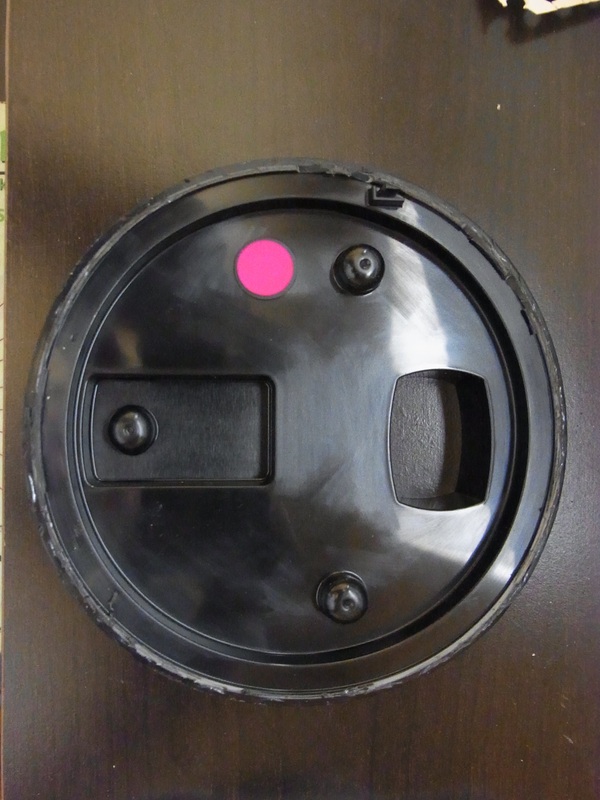
Bottom plate
|
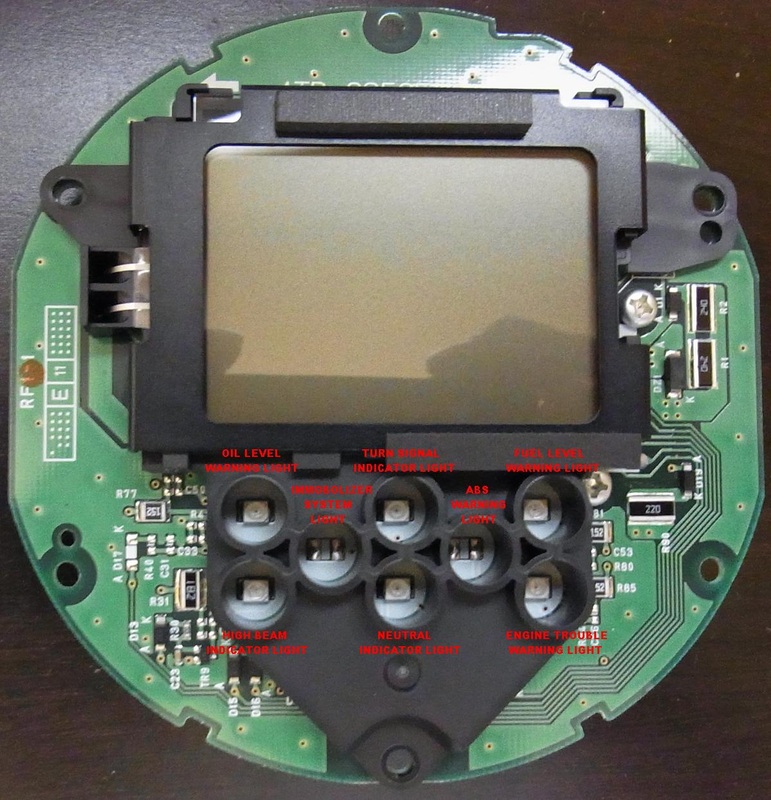
Top view of PCB with explanations of buttons and LEDs
|
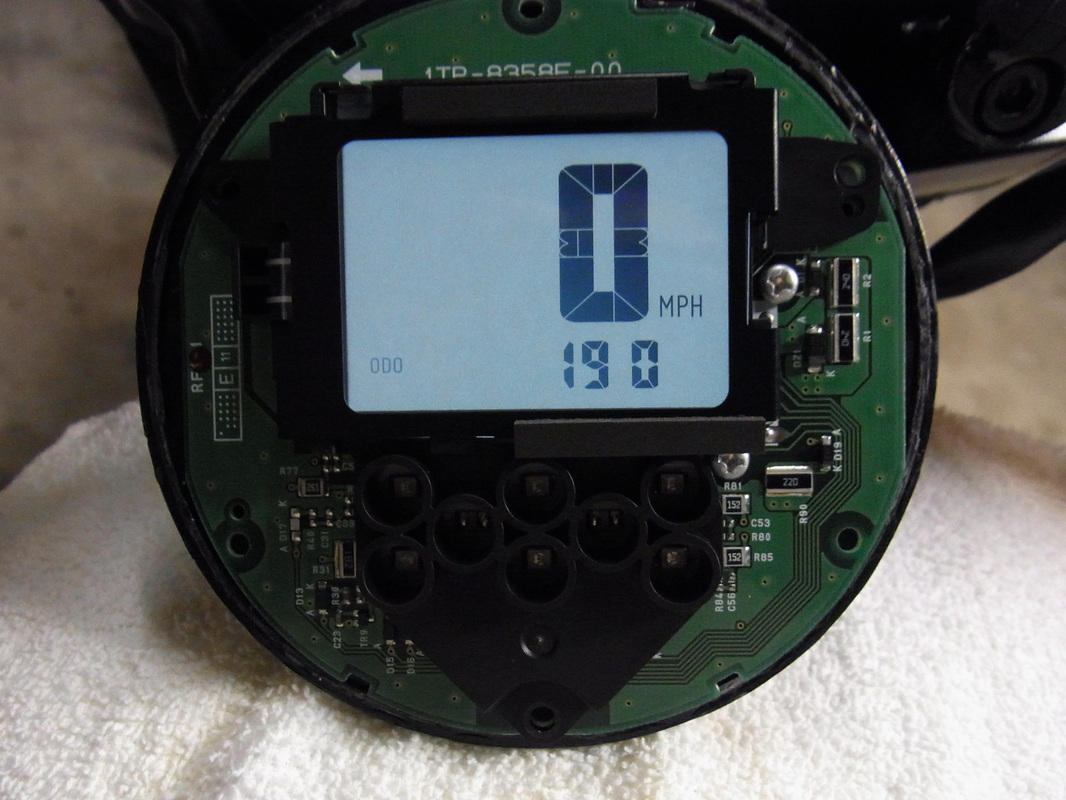
Powered up top view of PCB
|

Backside of PCB
|
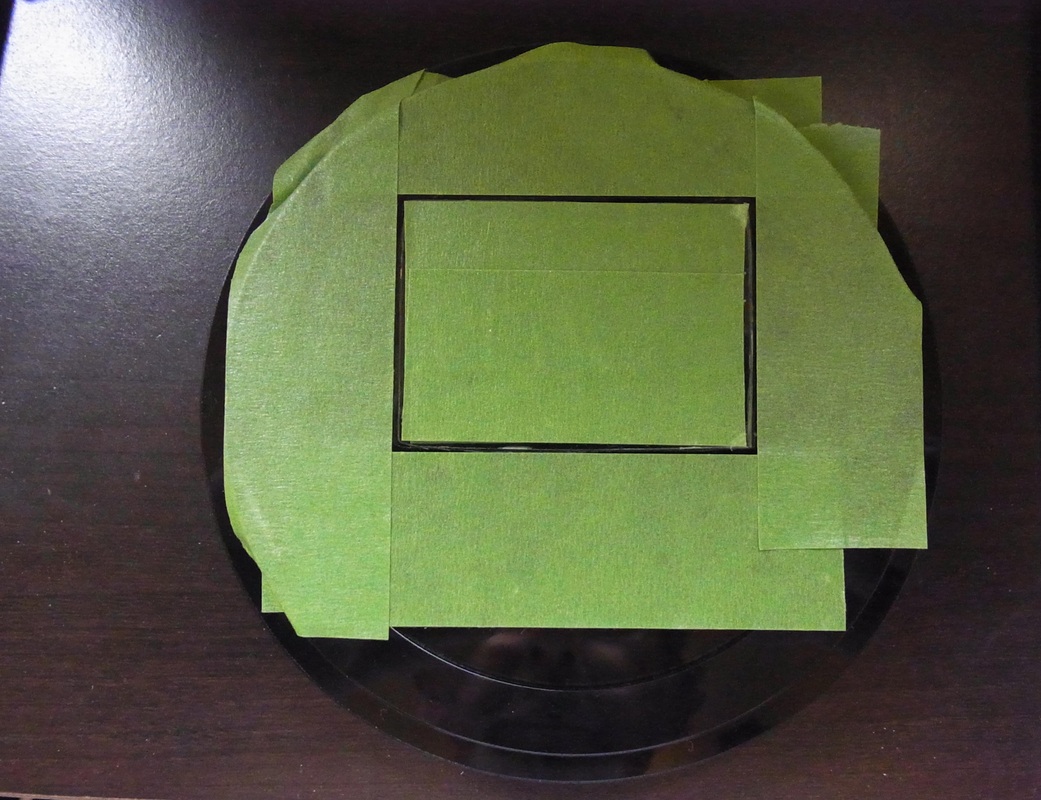
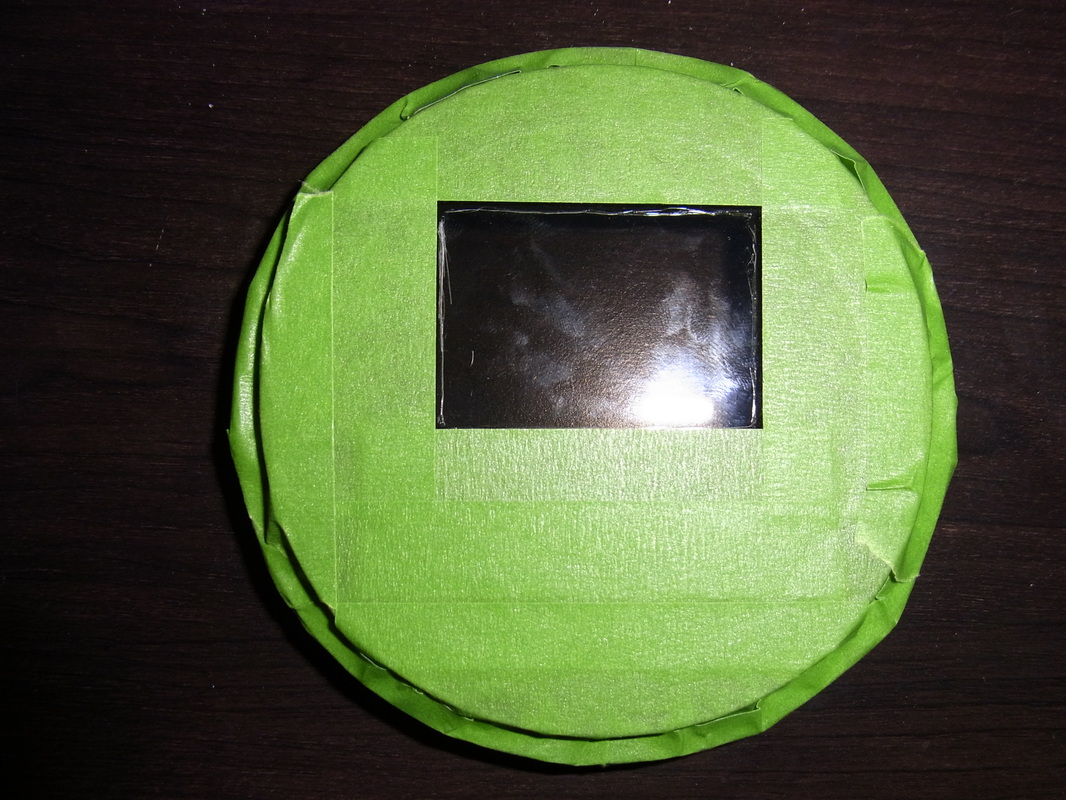
Top of plexiglass cover, taped off prior to cutting out rectangular LCD area window
|
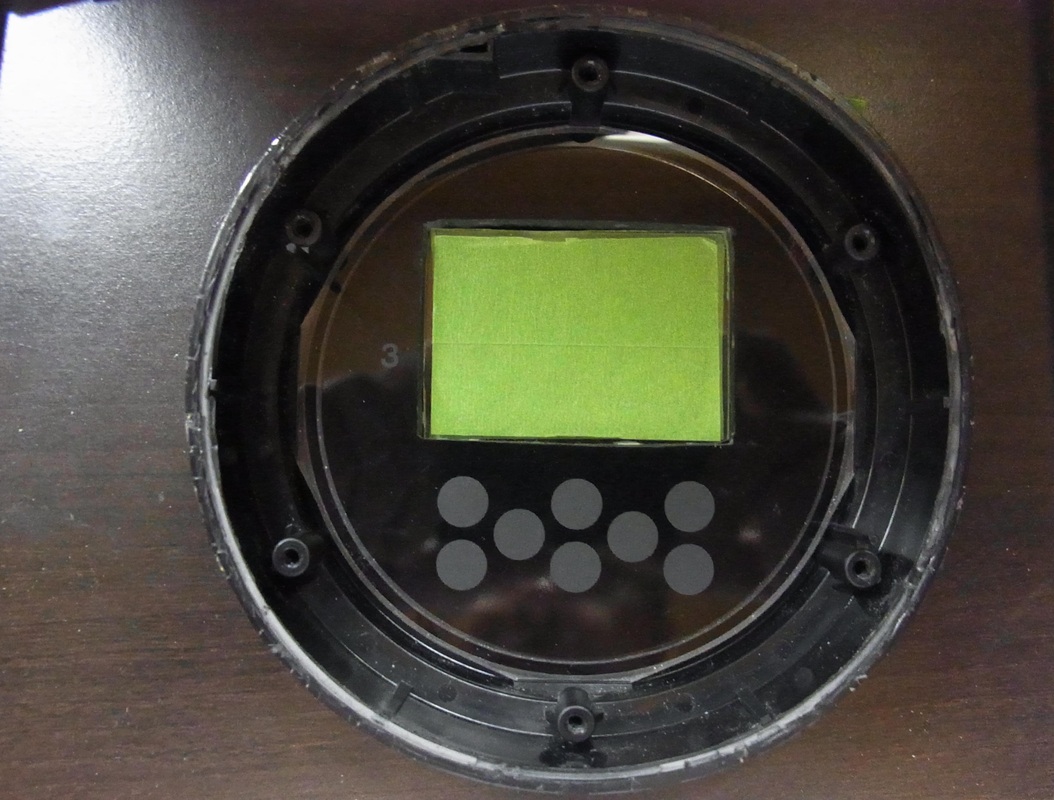
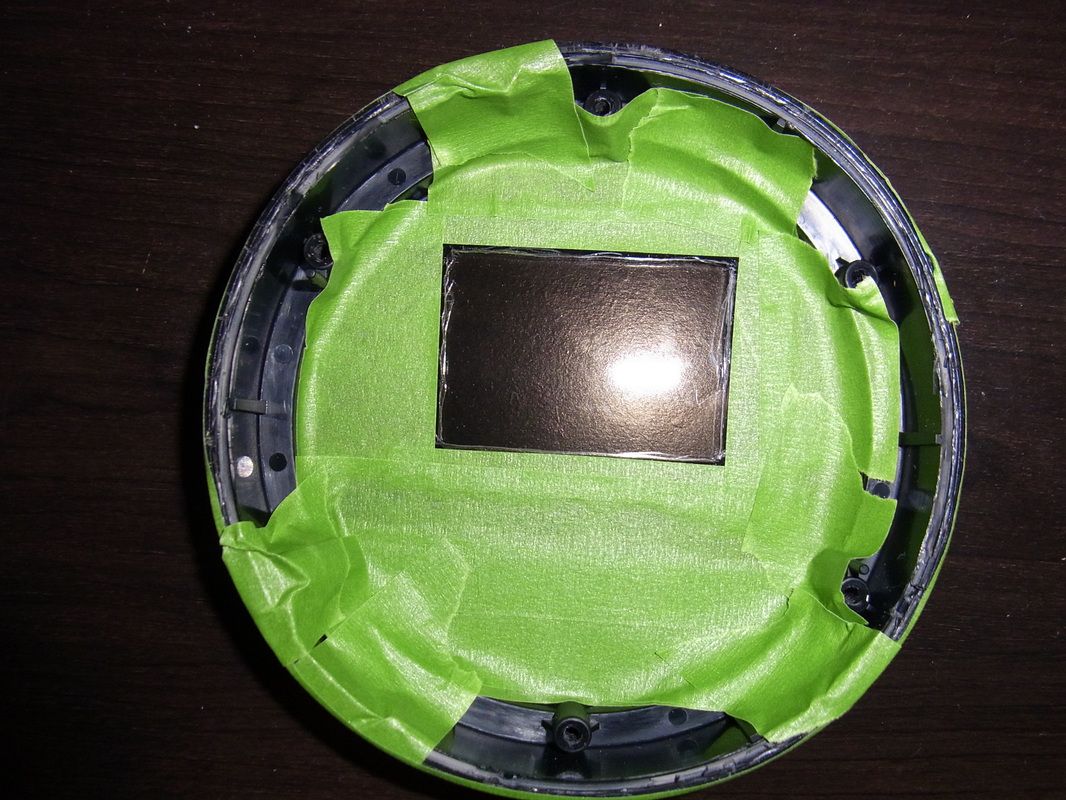
Inside view of top of plexiglass cover, taped off prior to cutting out rectangular LCD area window
|
Getting plexiglass cover taped off prior to cutting out rectangular LCD area window
|
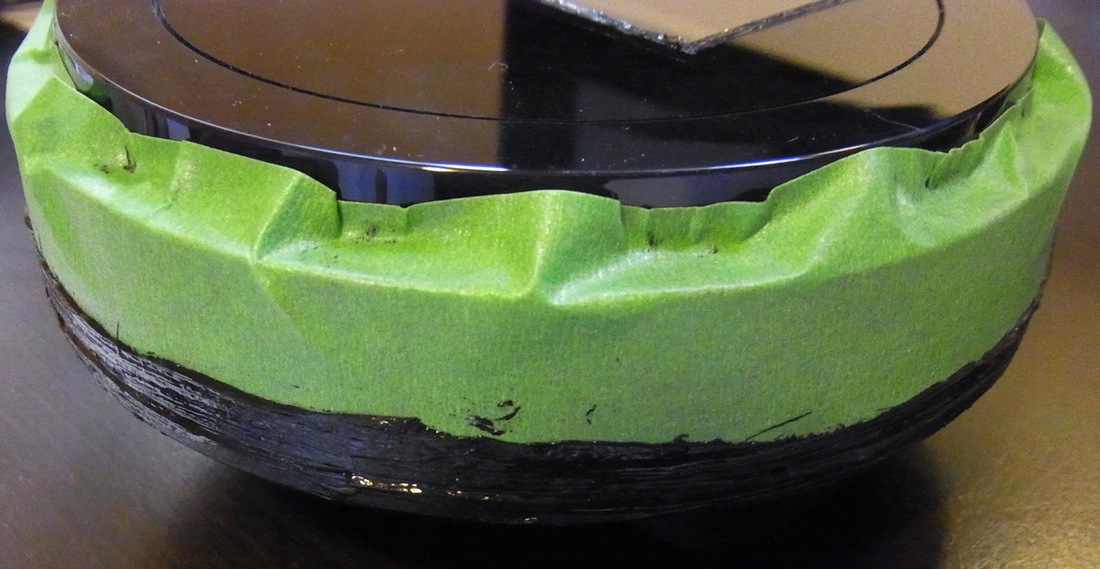
Side of plexiglass cover, taped off prior to cutting out rectangular LCD area window
|
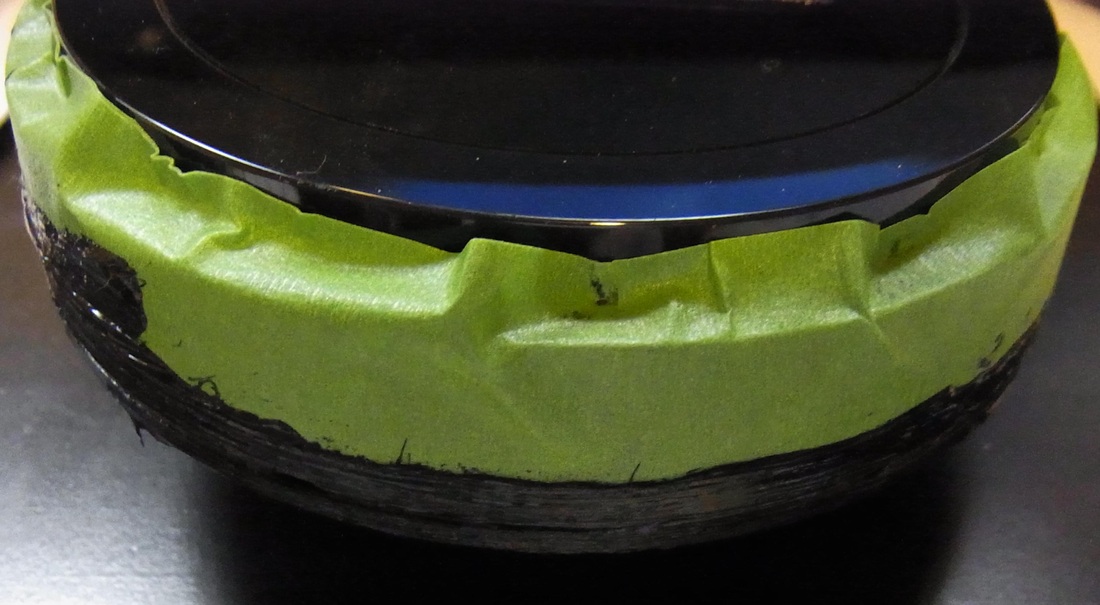
Side of plexiglass cover, taped off prior to cutting out rectangular LCD area window
|
Top of plexiglass cover, taped off prior to cutting out rectangular LCD area window
|
Inside of plexiglass cover, taped off prior to cutting out rectangular LCD area window
|
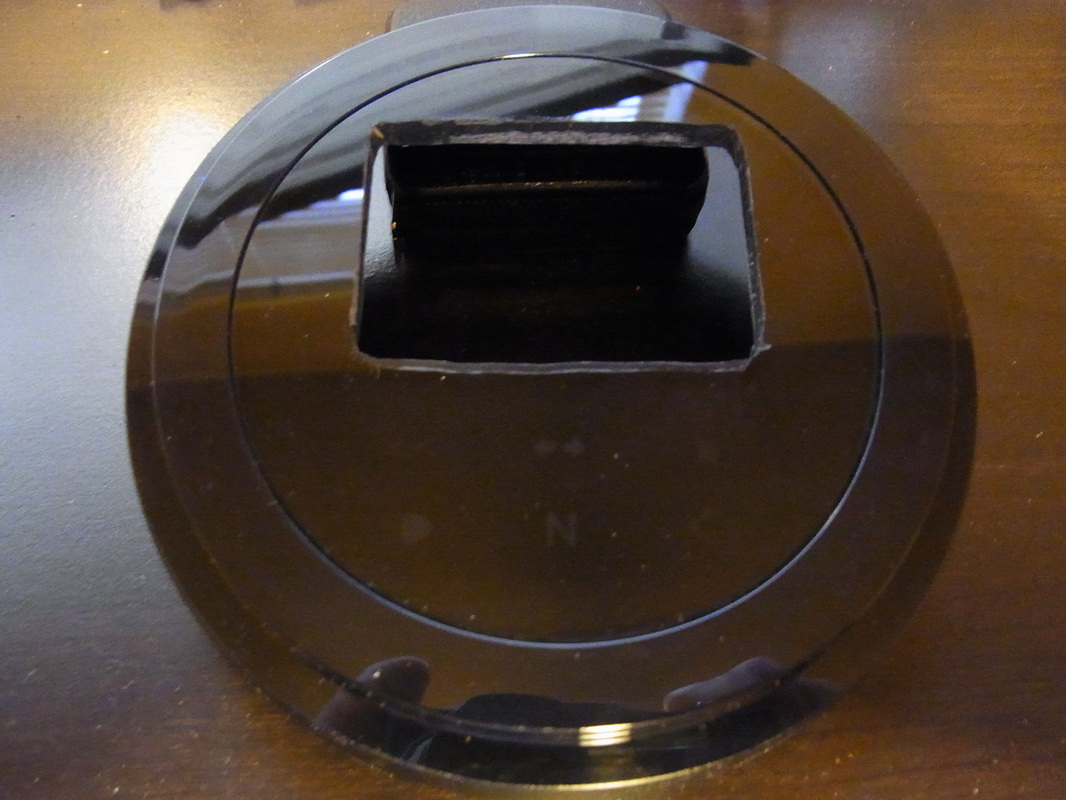
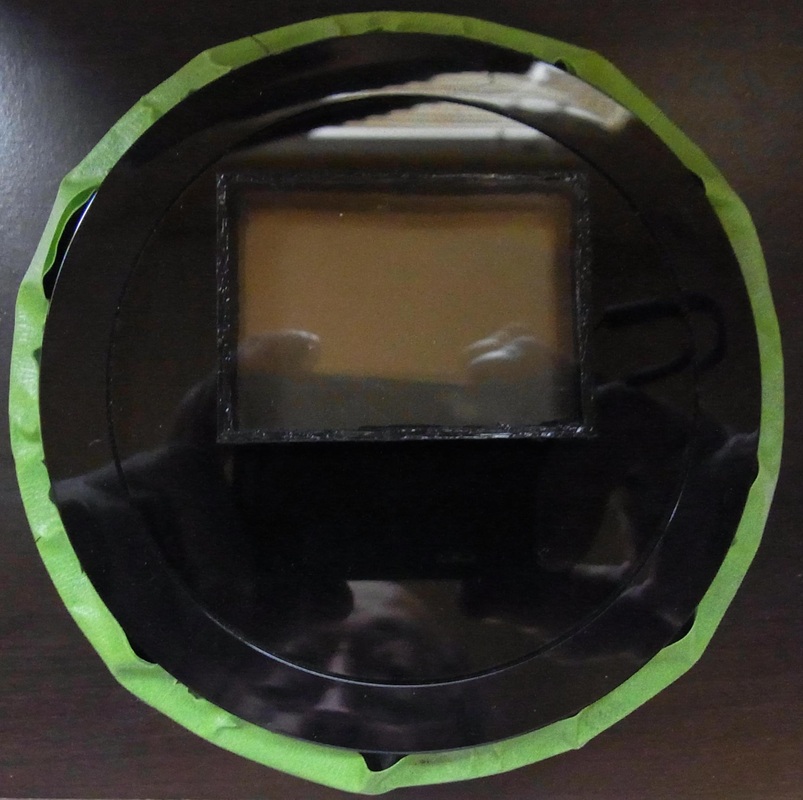
Top of plexiglass cover, after cutting out rectangular LCD area window
|
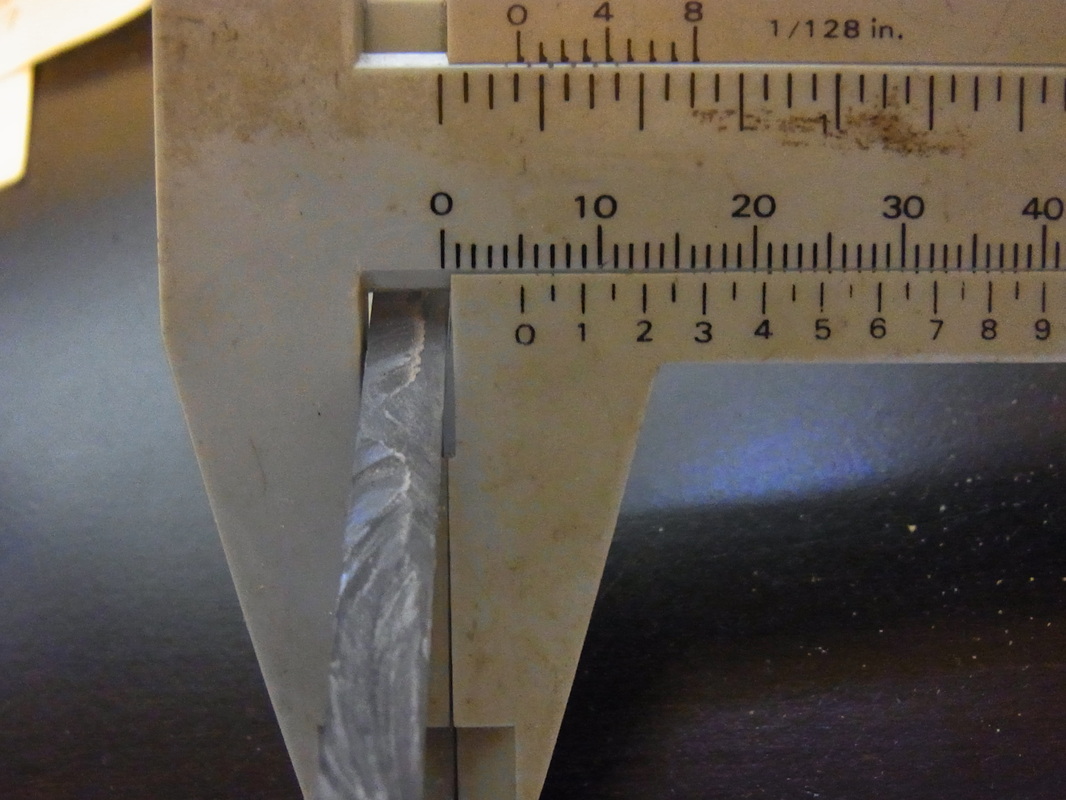
Thickness (5mm) measurement of removed plexiglass section
|
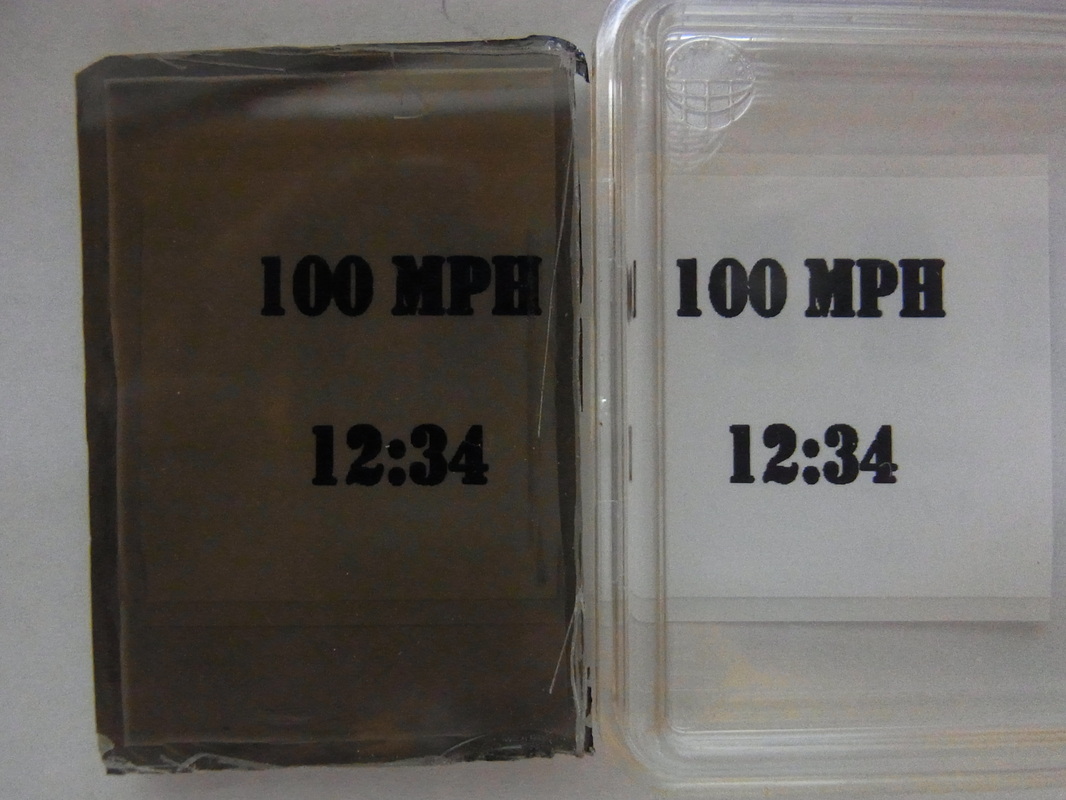
Comparison of removed smokey plexiglass vs installed clear plexiglass
|
Comparison of removed smokey plexiglass vs installed clear plexiglass
|

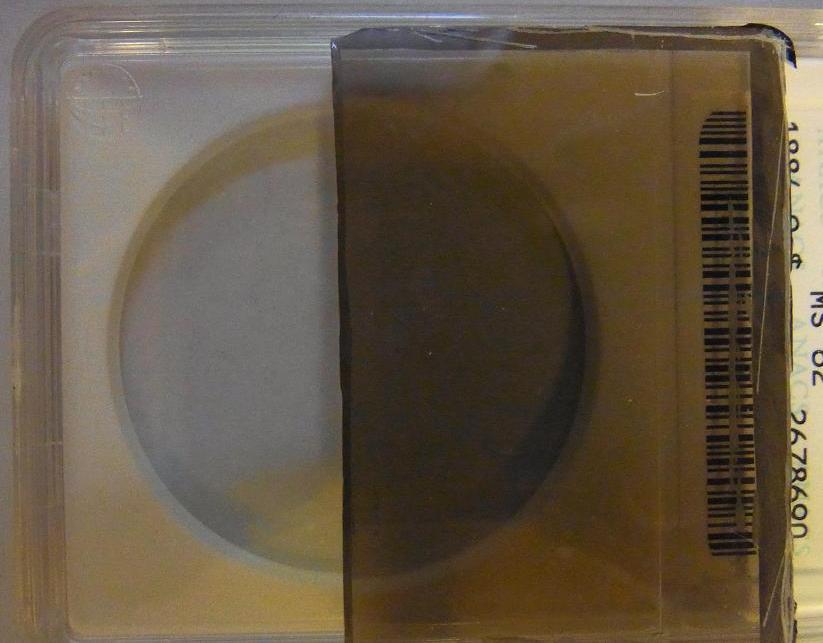
Thickness (9.5mm) measurement of clear plexiglass to be used. Actually used a 3mm section of this.
|
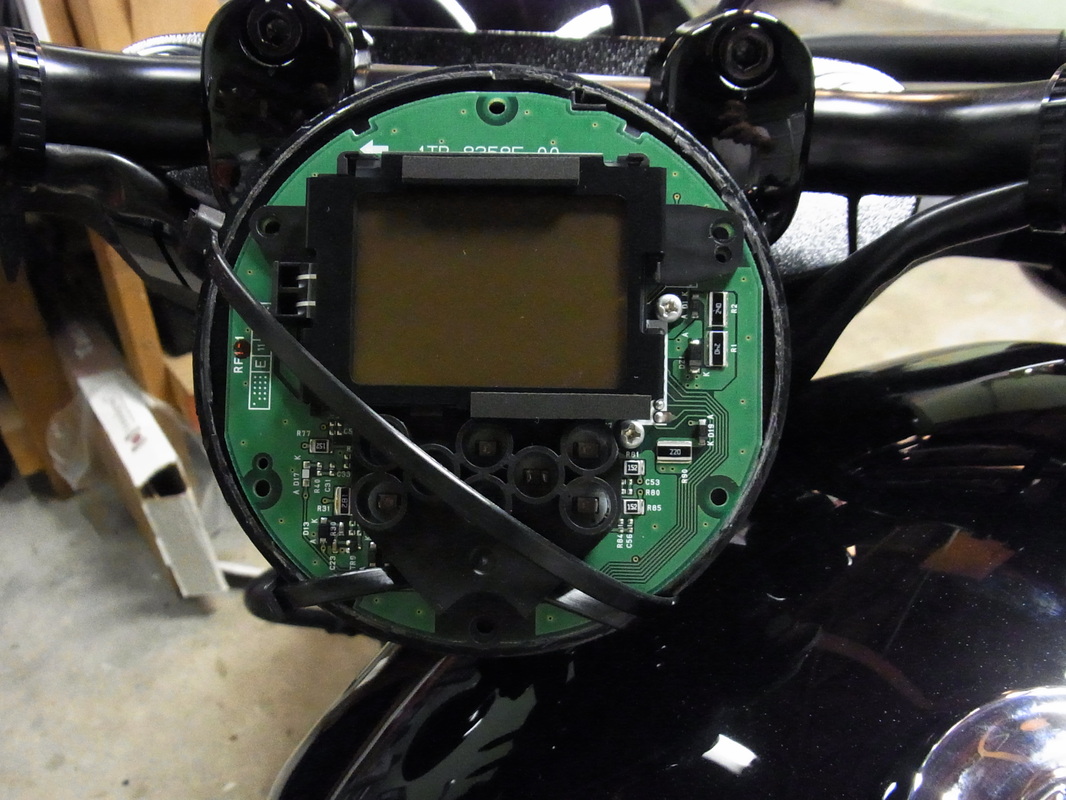
Top view of PCB with plexiglass cover removed, tie strapped down and ready for a test run
|
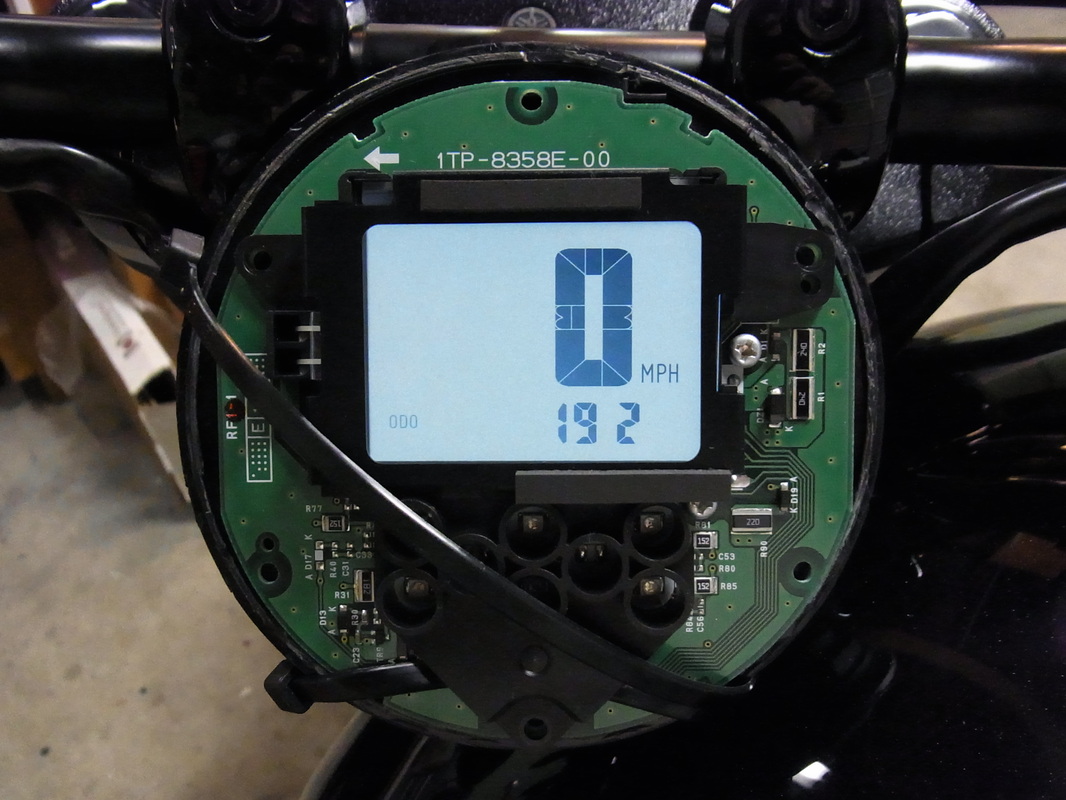
Powered up top view of PCB with plexiglass cover removed, tie strapped down and ready for a test run
|
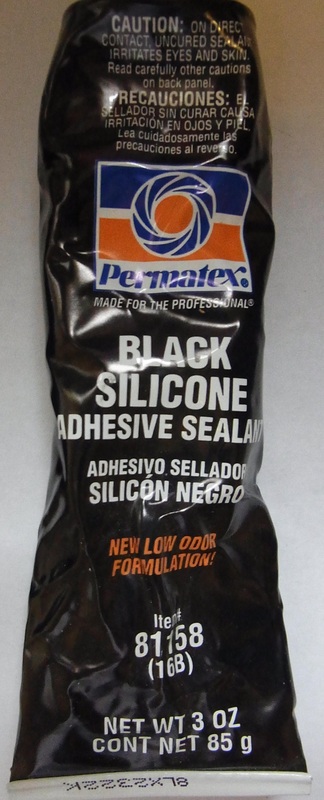
Permatex 81158 (16B) Black Silicone Adhesive Sealant, 3 oz. Tube used to seal clear plexiglass and top cover
|
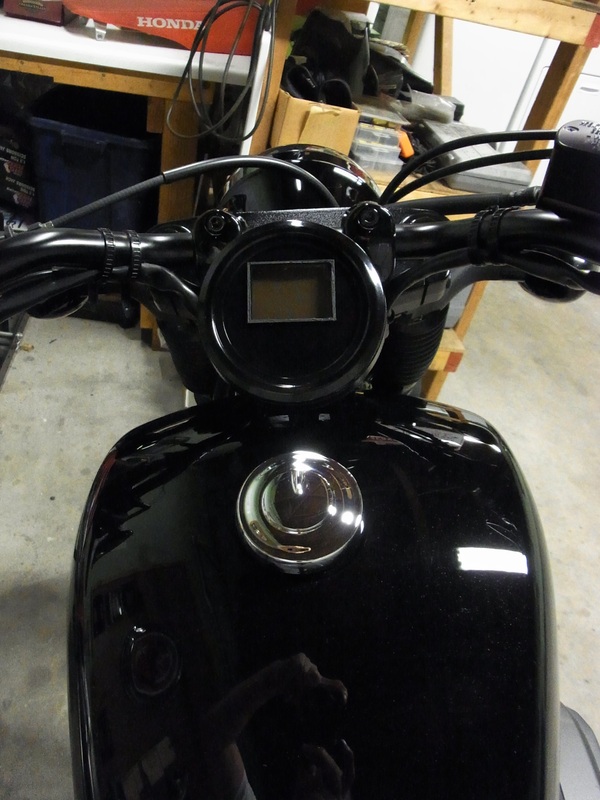
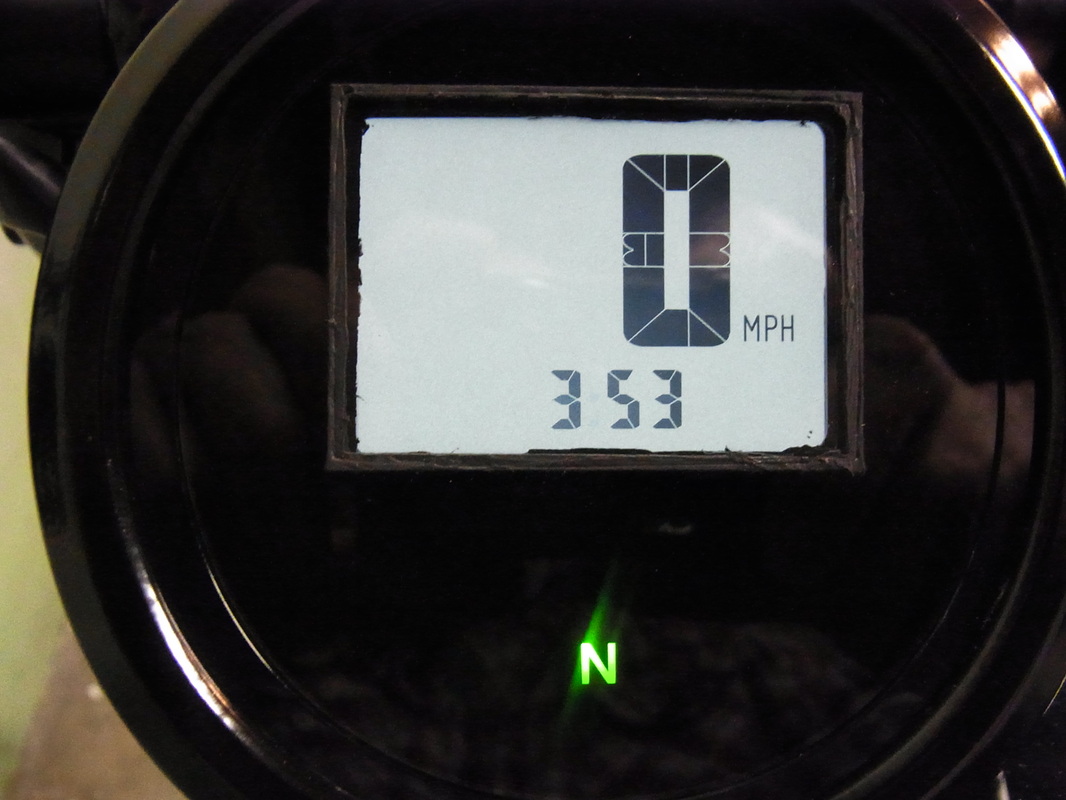
Completed modified meter back on bike
|

Completed modified meter back on bike with power ON
|
© 2013-15 cvvmax. No animals, HDs or Ducatis were harmed in the making of this site.